
Surface Preparation and Application of
Stonecrete plaster - Exposed Aggregate plaster - Grit Wash Plaster
Pebblewash plaster - pebblecrete plaster - pebble dash Plaster
Step 1: surface Preparation
1)Hack uniformly across the wall (using a small axe, drill, or hammer) to create a rough and pitted texture on the surface.
2)Comb the surface with wavy lines using a wire brush or nail comb for proper bonding.
3)The surface should be properly cured for a minimum of 4 to 5 days and made hard.
Step 2: Marking & Bidding
1) Marking is done on the surface as per drawings and designs.
2) Laying down of wooden Bidding or alumiunium bidding on the area on which Grit plaster finish is to be Provided.
Step 3: Laying of grit wash plaster
1) Stone chips mixed up with cement , Marble Powder and water and laid down in the area of Flooring with Proper Grooves around it as per drawing and design.
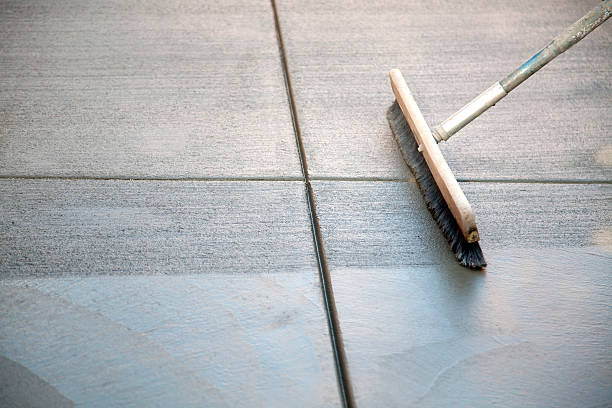
Step 4: washing and water Curing
1)Once the material is laid down properly, water Wash is done to expose the granules with the help of Brush
2) From Next day, water Curing need to done on the area of Grit plaster (Wash concrete) for 10-15 Days which will help in strengthening the Grit plaster finish.